Verbate uses Auth0 to manage identity, so the below process gives us the information we need to leverage Auth0’s Azure Enterprise Connection.
To create an Azure Enterprise Connection, we’ll need to exchange a few pieces of information. When we’ll use these pieces of information will be explained below.
What Information We’ll Exchange
What you’ll need from Verbate:
- Our Sign-in redirect URI: https://verbate.us.auth0.com/login/callback
- Our Logo: click here
What we’ll need from you:
- Your Azure Domain Name
- Your Application Client ID
- Your Application Client Secret
Register Verbate as an Application with Azure AD
Registering Verbate with Azure establishes a trust relationship between Verbate and the Microsoft identity platform. The trust is unidirectional: Verbate trusts the Microsoft identity platform, and not the other way around.
Register the Application and Create Client ID
- Sign in to the Azure portal.
- If you have access to multiple tenants, use the Directories + subscriptions filter in the top menu to switch to the tenant in which you want to register the application.
- Search for and select Azure Active Directory.
- Under Manage, select App registrations > New registration.
- Enter the name Verbate for your application. Users of your application might see the display name when they use the app, for example during sign-in. The app registration's automatically generated Application (client) ID, not its display name, uniquely identifies your app within the identity platform.
- Specify who can use the application, sometimes called its sign-in audience. For customers of Verbate, you’ll likely want to select Accounts in this organizational directory only.
- Enter https://verbate.us.auth0.com/login/callback for Redirect URI (optional) and select “Web”.
- Select Register to complete the initial app registration.

When registration finishes, the Azure portal displays the app registration's Overview pane. You see the Application (client) ID. Also called the client ID, this value uniquely identifies your application in the Microsoft identity platform.
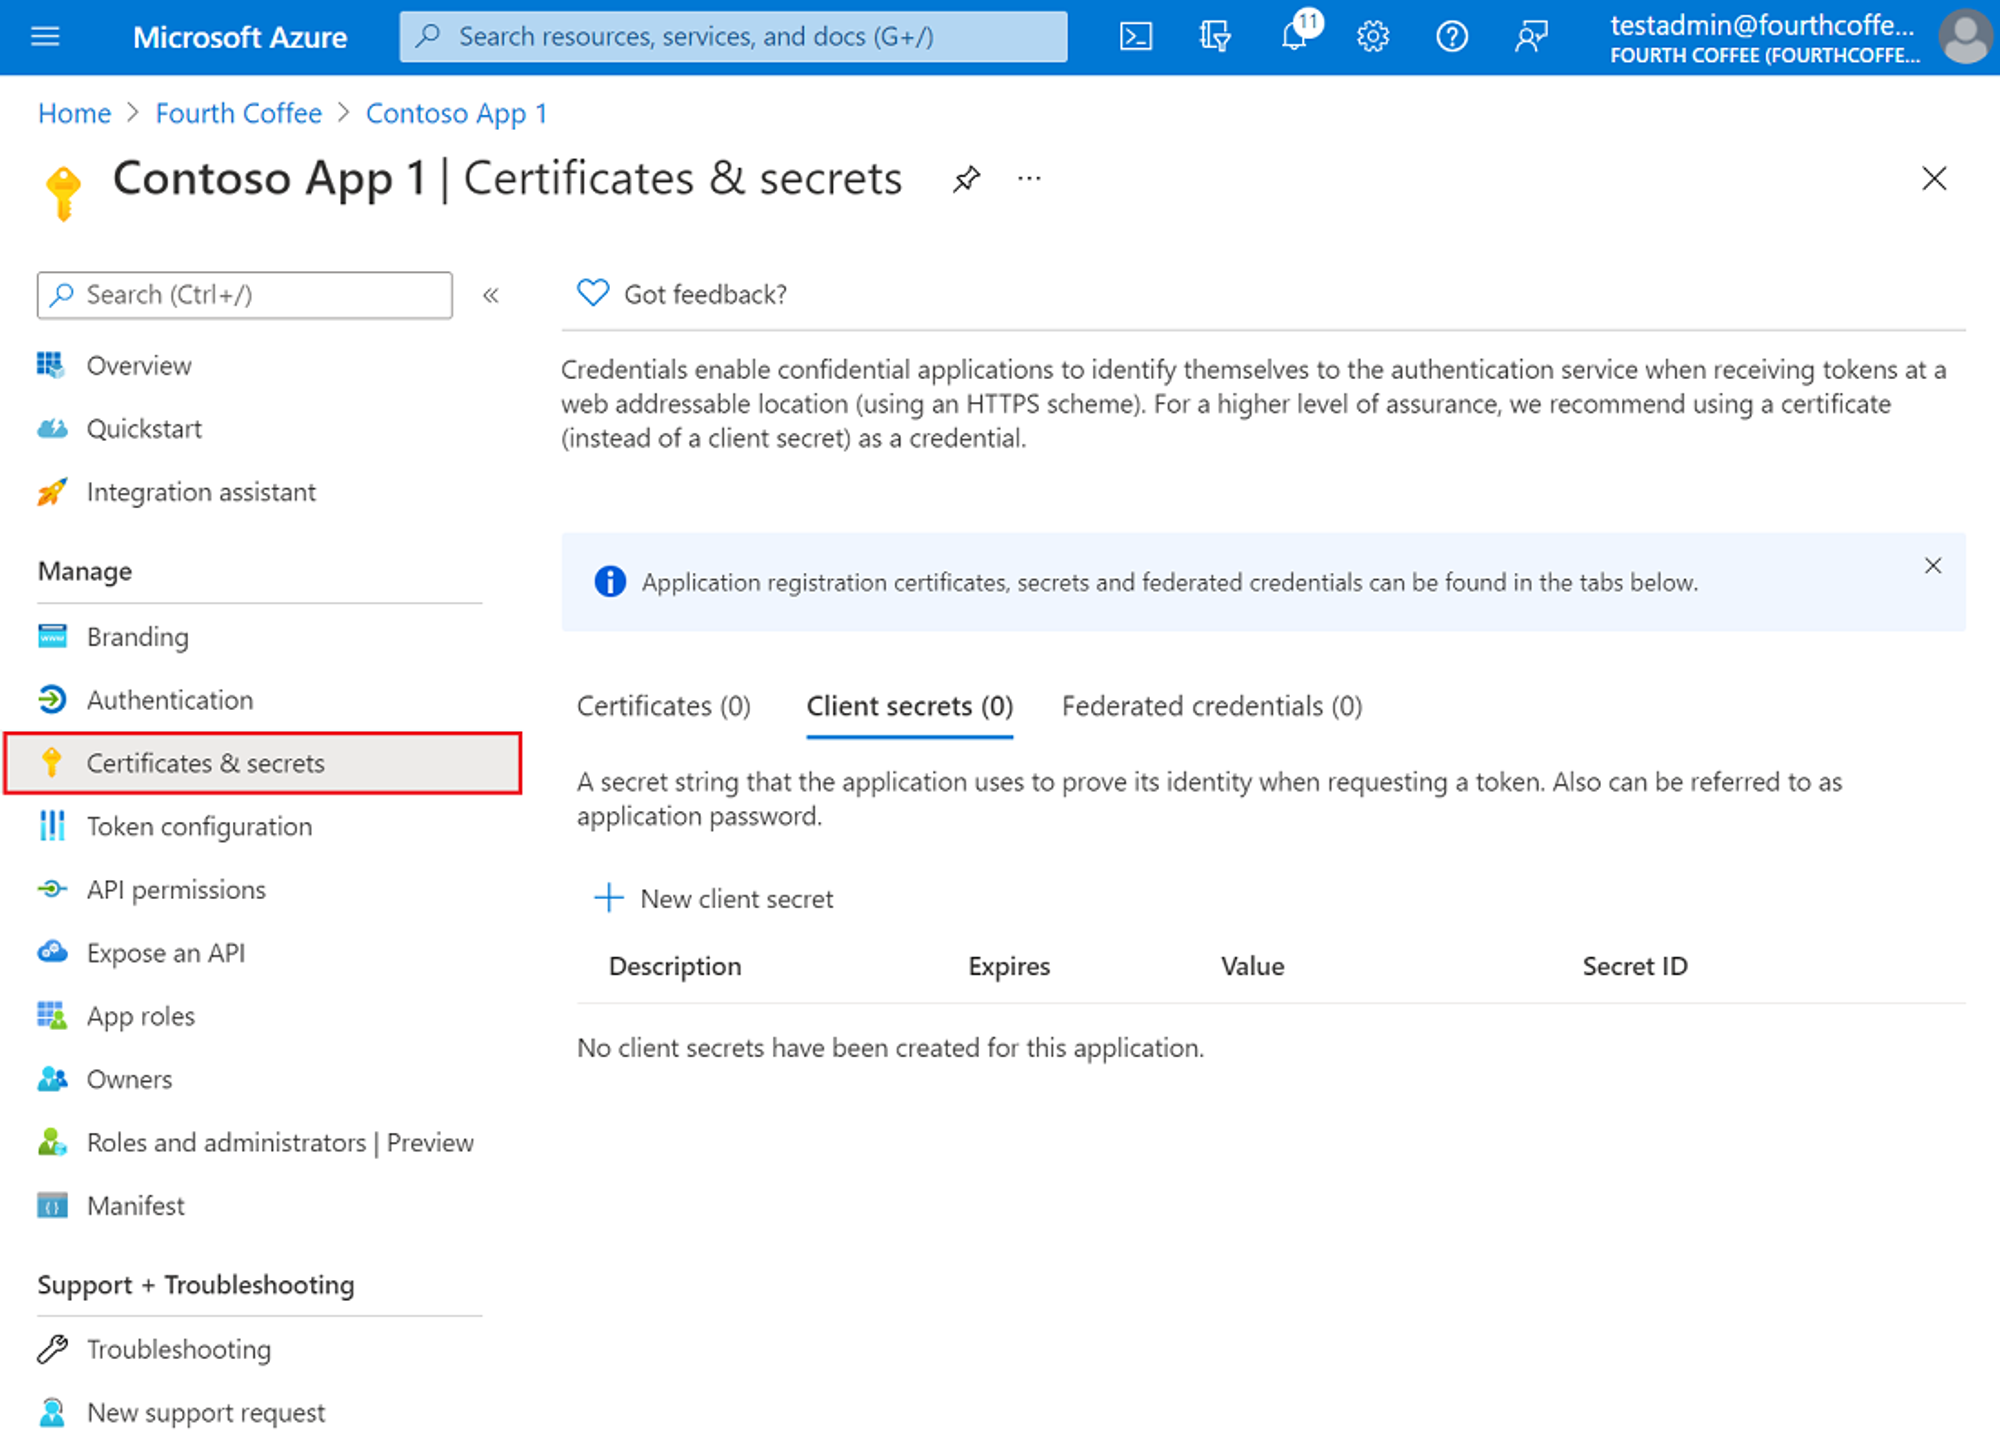
Add a client secret
Sometimes called an application password, a client secret is a string value your app can use in place of a certificate to identity itself.
- In the Azure portal, in App registrations, select your application.
- Select Certificates & secrets > Client secrets > New client secret.
- Add a description for your client secret.
- Select an expiration of 24 months for the secret.
- Select Add.
- Record the secret's value for use in your client application code. This secret value is never displayed again after you leave this page.
Update App Visibility
New app registrations are hidden to users by default. When you are ready for users to see the app on their My Apps page you can enable it. To enable the app, in the Azure portal navigate to Azure Active Directory > Enterprise applications and select the app. Then on the Properties page toggle Visible to users? to Yes.
Define Custom Homepage/Sign in URL for the Published App
Now that you’ve created an app, you need to ensure that the app knows where to send the user after they’ve been authenticated by your systems.
Within the Verbate app you built in Azure, head to Branding -> Homepage URL, and add the following URL: https://portal.verbate.io/login/